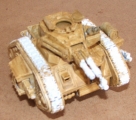
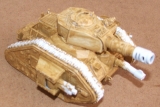
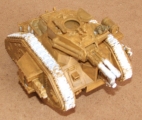
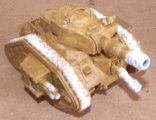
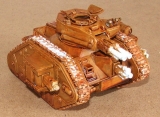
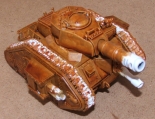
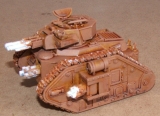
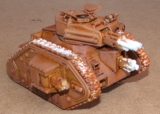
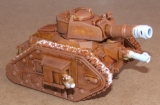
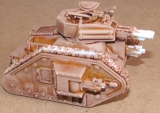
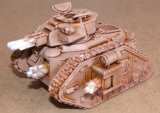
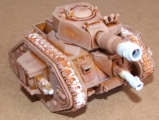
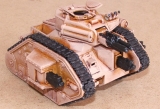
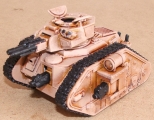
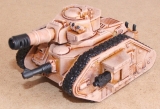
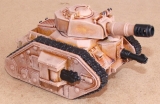
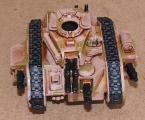
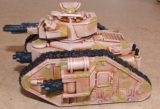
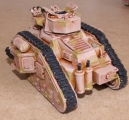
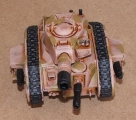
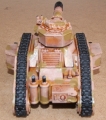
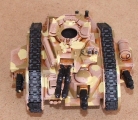
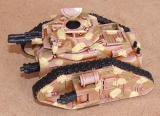
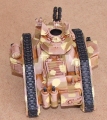
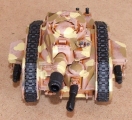
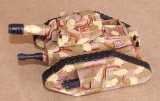
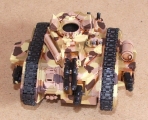
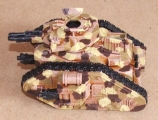
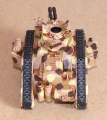
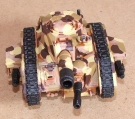
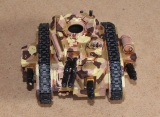
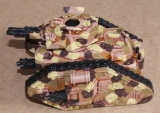
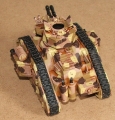
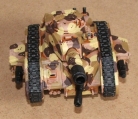
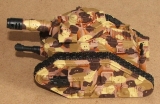
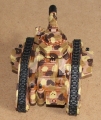
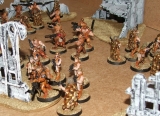
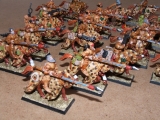
Games Workshop's Warhammer 40K game system features many different vehicles, with a nice range of plastic kits to represent them. However, the large models can be a bit daunting for new players to paint, and it can be difficult to achieve good results.
In this article, PAW member Clive Dudley shows us the stages of his technique for painting these models.
Preparation Stage Time spent in preparing your model for painting is seldom wasted! Make sure all the joints fit well and there are no gaps. For models with tracks, do not affix the tracks until the model is painted! It's much easier to paint them on the sprue. Paint the inside of the road wheel assembly black. If you leave it white it will show up on digital photographs - see later for a classic example! My excuse is that these models are being repainted after being purchased second-hand.
Stage 1 Having assembled the model and primed it white it is given a thin wash of “Miniature Paints” Khaki. This is known as the Henry Cooper “splash it all over” style of painting!
The wash is a 50/50 mix of paint and water.
Stage 2 A second thin wash of khaki is applied. This fills in anywhere you may have missed and serves to deepen the colour. Depending on the finish you wish to achieve, you can always add a third coat. This was the original colour I painted my vehicles. Now I want the base coat a bit darker.
Stage 3 A thin coat of Games Workshop’s Flesh Wash is applied to darken the base colour. Flesh Wash is an ink rather than a paint. It needs to be thinned, to prevent it coming out glossy, but not too much or the colour goes too light. I usually add a small amount of water, about a 70/30 mix.
Stage 4 Humbrol Leather is sponged onto the model.
Sponging is a technique that I was shown by Kevin Shillito of Battledress Studios. Dab a small piece of sponge into your paint and gently dab onto the model. The idea is to build up the colour in layers. Repeated light dabbing gives better results than one heavy application.
I use the sponge that comes in the “Games Workshop” blister packs. Never throw anything away!
Stage 5 A mixture of Humbrol Leather and White was then sponged onto the model to provide a contrasting highlight.
Do not cover all the previous sponged area and you will find a good contrast has been achieved. Once again, gently does it.
Stage 6 All the weapons are now painted black. On these two models the tracks are also painted black at this stage. Normally, I wouldn’t fix the tracks until the end but these tanks have been “salvaged” - i.e. they’re being repainted!
At this stage the models are ready to use on the tabletop. However, you aren’t finished yet!
Stage 7 Now comes the interesting part! Painting camouflage.
I use a three colour scheme based on the Waffen-SS 1944 pattern but using colours that fit the planet where my 40K armies are fighting. My scenery is painted and based to match.
The German camouflage patterns were copied from pictures supplied by the Wehrmacht (the German army) but applied at “local” level. To reflect this, I always copy the layout from the first model I painted but change things slightly.
First I paint on Miniature Paints Khaki. The important things here are to make sure the patches are not too large and are of irregular shape. Try to avoid a Polka Dot or spotty dog effect!
Stage 8 The second colour is Miniature Paints Sand.
Stage 9 The third colour is Games Workshop Scorched Brown.
Stage 10 To complete the camouflage, small dots of contrasting colour are added randomly, usually in twos or threes, but sometimes more.
Stage 11 Any crew, weapons and extra detailing are now added. I find it easier to paint these parts separately.
Now is the time to add mud, dust and any battle damage if you wish.
Stage 12 A light spray of matt varnish is now applied to protect the paintwork.
Stage 13 Some people base their models. This can look good and also protects the model from handling. Once again this is a personal choice.
Stage 14 Get out and play!
Historical Camouflage During the Cold War, the British Berlin Brigade painted all their vehicles with an identical pattern to hinder the Russians from being able to count the number of vehicles. They would never be sure that they weren’t counting the same vehicle twice or if there was more than one! All the camouflage blocks were square or rectangular. The colours used were black, white, grey, brown and green.
In WW2 the British used a pattern called “Mickey Mouse” ear! Usually black over sand or black over green.
There is plenty of information on the web for camouflage patterns, so find one scheme you like and try it out
Chaos Camouflage Try painting Chaos vehicles in the same pattern but using different colours. I tried one out with blue, pink and orange! It made me physically sick to look at it! Just the effect Chaos should have.
Theming Your Army As an avid Imperial Guard player and collector, I have a very large collection of models and figures. I decided that my Guard army would all be from the same planet/planetary system and were all fighting in the same war zone. This meant that I could theme my entire collection.
I have repeated the vehicle camouflage scheme on my Storm Troopers/Grenadiers, Rough Riders and Light Infantry. The ordinary Infantry have plain uniforms painted khaki with a flesh wash topcoat and their epaulettes are painted in Games Workshop Red Gore. The Mechanised Infantry have greatcoats painted in Red Gore. This ties both units in with the weapons on the vehicles, giving the idea that they are all from the same army but are different parts of it.
